You probably noticed them in neighbors’ or relatives’ houses: those lovely, light-spreading skylights add drama to living rooms, dining rooms, kitchens, and more. And you’ve probably wondered if skylights are expensive to put in. If you are past pondering and plan to get a skylight, what room is best for it?
Where Is the Best Place to Put a Skylight?
The ideal place for a skylight is anywhere in your home where you want fresh, invigorating sunlight to pour in during the day. A skylight also gives you a glimpse of star-strewn night skies. Some rooms benefit from a skylight:
- Living room
- Dining room
- Family room
- Kitchen
- Breakfast nook
- Bedrooms
- Hallways
In addition to dramatic skylights in major living areas, you can also consider ingenious sun tunnels, which channel sunlight into dark spaces like your laundry room, garage, bathrooms, or guest rooms.
Whichever room you have a skylight or sun tunnel installed, you add value to your home. You can lower your energy bill (sunlight is still free!), boost your immune system, and increase the apparent size of small rooms.
The best place for a skylight or sun tunnel? Wherever you want!
Are Skylights Expensive to Put In?
Some folks want an instant answer, even if it is wide of the mark. For those folks, looking at national averages and according to Home Advisor, skylights may cost around $2,000 to install. This is almost certainly not going to be a final answer for your Charleston-area home.
The truth is, no contractor can quote you a price for a new skylight sight unseen. Many factors affect installation, time, and cost:
- Replacement versus new installation
- The quality of the skylight you select
- The room in which it is to be installed, including ceiling height and roof access
- The physical condition and weatherproofing of your existing roof
A skylight is no more or less expensive than the cost for a substantial replacement window, like a bow or bay window in your living room. A replacement skylight may cost slightly less to install than a new skylight because the hole in your roof is already in place. Then again, if your existing skylight is too small, the hole may need to be enlarged. If the previous skylight leaked, faulty flashing and sealing may have caused it; the replacement cost may be on par with a new installation.
Too Much!
One way a skylight can be extremely expensive: selecting the wrong installer. Have a replacement or new skylight installed by an experienced contractor. Getting a local handyman to do it (or worse, attempting it yourself) is likely to drive up the costs:
- Shoddy installation is the leading cause of water leaks and infiltration
- Improper installation can be dangerous
- Subpar insulating and caulking causes fogging, condensation, and staining
A skylight is a large, heavy object suspended above your head, held in place only by fasteners correctly placed by a skilled installer. A skylight is a hole in your home’s roof, a hole spanned only with metal, insulation, and glass. Proper installation requires a thorough knowledge of safety, house construction, carpentry, and roofing. Choosing an experienced contractor, one with expertise in all the challenges of correctly sizing, placing, and installing a skylight, actually saves you money over time.
Installation Steps
Assuming your Charleston-area home has no skylight, these are the basic steps of installation:
- Work with your contractor to select the ideal skylight for your room; a skylight should have an area no greater than five percent of the room’s square footage (15 percent if the room has no windows).
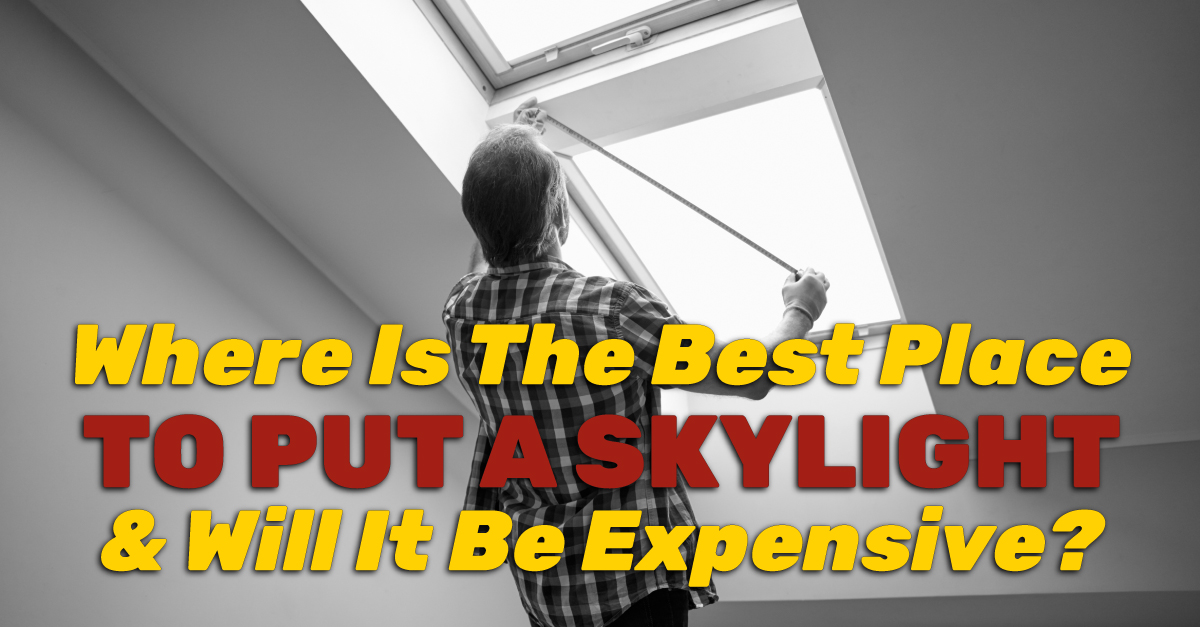
- The contractor measures multiple times to locate the skylight’s position on your roof.
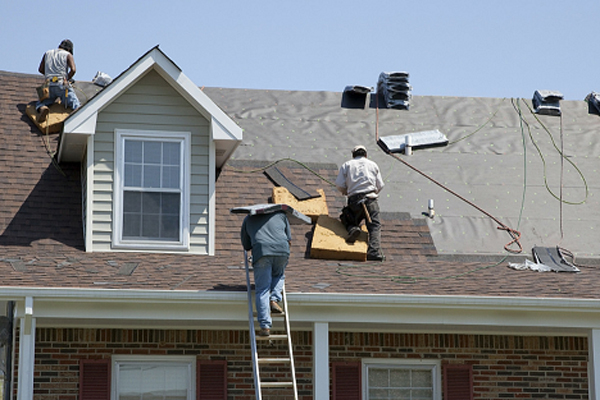
- The technician removes shingles for the opening.
- An actual hole is cut in your roof between rafters.
- The roof sheathing is fastened all around the opening.
- The hole is flashed, a first step in preventing water leaks.
- Two installers position the skylight and fasten it to the rafters using the skylight’s metal flange.
- The raised sides of the skylight are sealed with a self-adhesive membrane; this is another step to prevent water leaks, mold, and stains.
- A U-shaped metal sill is attached around the bottom edge.
- Step-flashing is added on both vertical sides.
- The sides are also counter-flashed to prevent wind, snow, and wind-driven rain from entering.
- Saddle flashing is added at the top of the skylight.
- Shingles are placed all around the flashing.
- The interior drywall is edged, touched up, and painted to match the ceiling.
You can instantly see this isn’t a hastily performed installation. It requires high skill, safe work habits, fall arrest gear, and the right tools. Trust only experienced installers with this project!
Please contact us today at Trico Exteriors to learn about skylights, their cost, and their many benefits for your Charleston-area home.


